A few months ago, I was discussing the control of GPIB equipment with a colleague. Based on only on my gut feeling and the briefest of research, I told him that the pricey and proprietary GPIB controller solutions could easily be replaced by open-source tools and Linux. In the many weeks that followed, I almost abandoned my stance several times out of frustration. With some perseverance, breaking the problems into bite-sized chunks, and lots of online searching to learn from other people’s experiences, my plan eventually succeeded. I haven’t abandoned my original stance entirely, I’ve taken a few steps back and added some qualifiers.
What is GPIB?
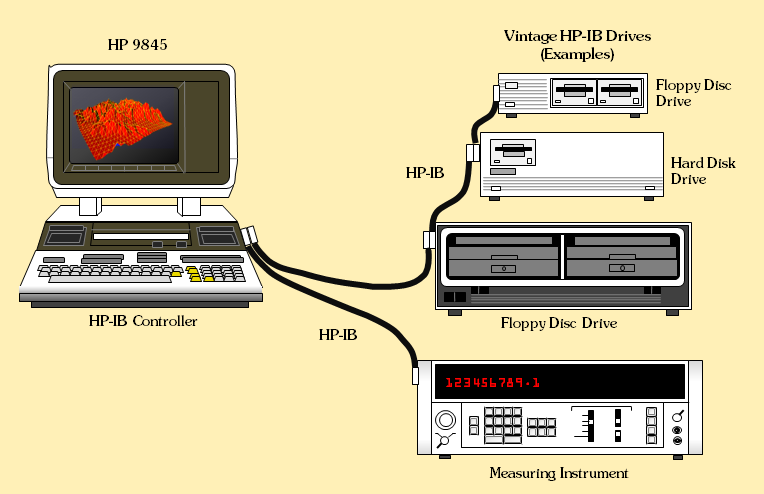
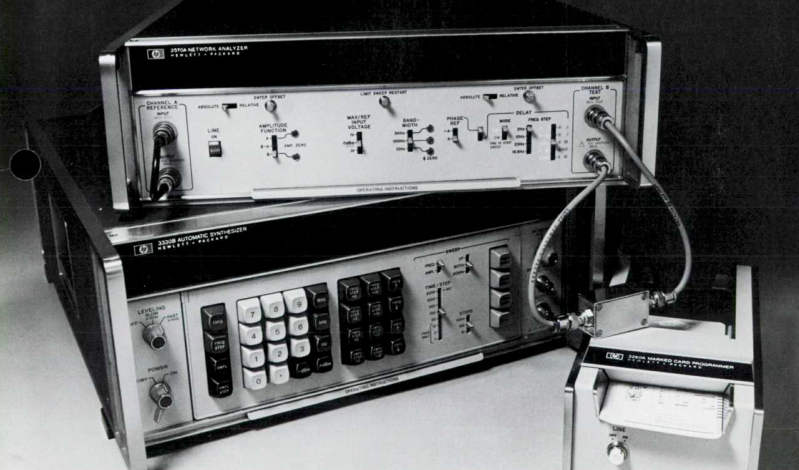
Back in the 1960s, if test equipment was interconnected at all, there weren’t any agreed-upon methods for doing so. By the late 60s, the situation was made somewhat better by card-cage controller systems. These held a number of interface cards, one per instrument, presenting a common interface on the backplane. Although this approach was workable, the HP engineers realized they could significantly improve the concept to include these “bridging circuit boards” within the instruments and replacing the card cage backplane with passive cables. Thus began the development of what became the Hewlett-Packard Interface Bus (HP-IB). The October 1972 issue of the HP Journal introduced HP-IB with two main articles: A Practical Interface System for Electronic Instruments and A Common Digital Interface for Programmable Instruments: The Evolution of a System.
To overcome many of the problems experienced in interconnecting instruments and digital devices, a new interface system has been defined. This system gives new ease and flexibility in system interconnections. Interconnecting instruments for use on the lab bench, as well as in large systems, now becomes practical from the economic point of view.
HP subsequently contributed HP-IB to the IEC, where it became an international standard. Within a few years it become what we know today as the GPIB (General Purpose Interface Bus) or IEEE-488, first formalized in 1975.
The Task At Hand
Why did I need to use a 50-year old communications interface? Since GPIB was the de-facto interface for so many years, a lot of used test equipment can be found on the second-hand market for very reasonable prices, much cheaper than their modern counterparts. Also, the more pieces of test equipment ending up on lab benches means less of them end up in the recycling system or landfills. But I don’t need these justifications — the enjoyment and nostalgic feeling of this old gear is reason enough for me.
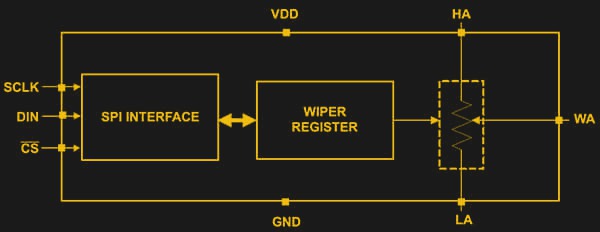
But why would you want to talk to your test equipment over a computer interface in the first place? In my case, I had a project where I needed to calibrate the resistance of a digipot at each of its programmable wiper positions. This would let me create a calibration algorithm based on measured data, where you could input the desired ohmic value and obtain the corresponding wiper register value. Sure, I could make these measurements by hand, but with 256 wiper positions, that would get tedious real fast. If you want to learn more about digipots, check out this article from the Digikey’s library on the fundamentals of digital potentiometers and how to use them.
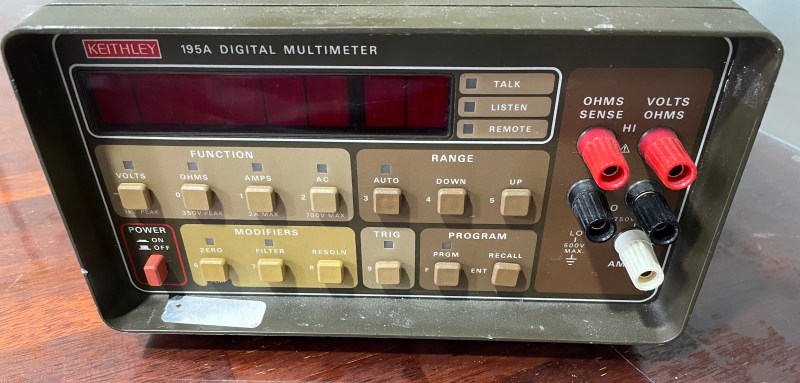
I scored a used Keithley 195A digital multimeter from the early 1980s. This is a 5-1/2 digit bench DMM, and my unit has the Model 1950 AC/Amps option installed.
Plan of Action
While searching around, I found a thesis paper (German) by [Thomas Klima] on using an easy-to-build GPIB interface shield on a Raspberry Pi or a Pi Zero to communicate with lab instruments. His project is open source and well documented on GitHub pages (Raspberry Pi version here and Pi Zero version here) his elektronomikon website.
It is a simple circuit, supporting my gut-feeling assertion that GPIB is not that complicated and you could probably bit-bang it with an 8051. I assembled the project, and I had a Raspberry Pi Zero-W all ready to go.
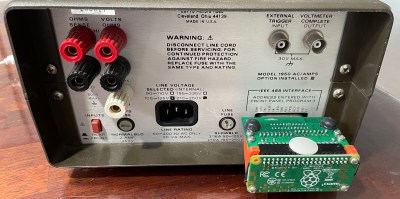
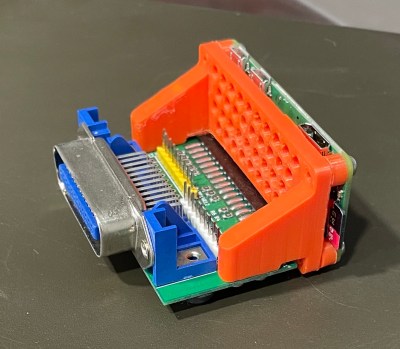
Software wise, the shield utilizes the existing Linux kernel module linux-gpib. It looked easy to install and get running on the Pi in short order. After a couple of hours installing PyVisa and some instrument-specific libraries, I should be automatically recording data with Python scripts in less than a day. Alas, reality doesn’t always match our expectations.
GPIB Architecture
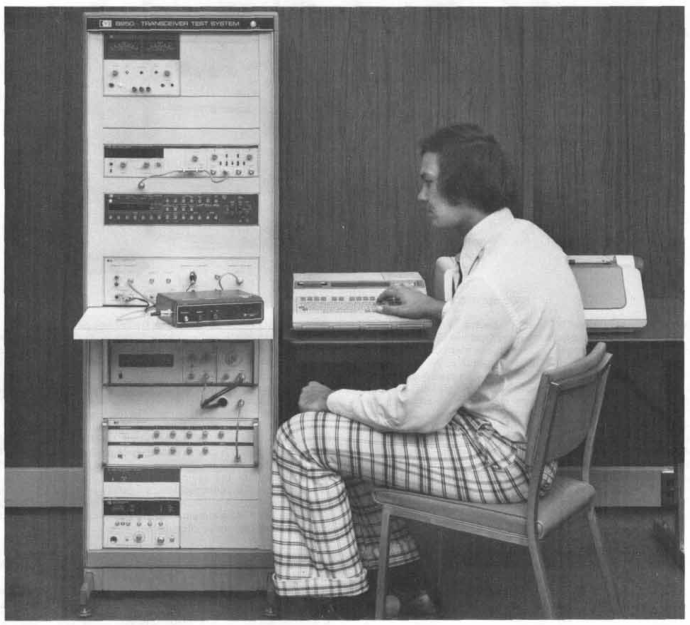
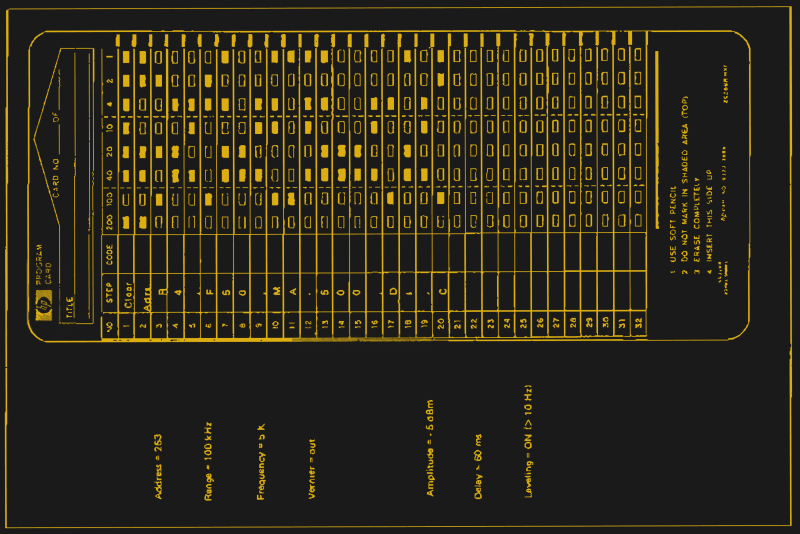
A little background perspective will be helpful in understanding the concept of GPIB. If we visited an electronics lab in the 60s, using a computer to control repetitive test sequences was the exception rather than the rule. Instead, you might see magnetic tape, paper tape, magnetic cards, or even cards onto which commands were marked in pencil. And for some setups computer control might not even be needed. For example, a temperature sensor might directly plot on a strip chart recorder or save values on a magnetic tape drive. If you remember that this is the world in which the HP engineers were immersed, the architecture makes sense.
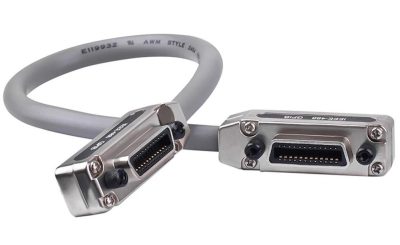
The GPIB is a flexible interconnection bus using 15 signals: 8 bit data bus and 7 bits of control lines. Any device on the bus can be a passive listener or an active talker. A talker can speak to multiple devices at the same time, and devices can raise an interrupt if they have an event that needs to be serviced. Devices are interconnected using cabling and connectors which were small for their day, but are a nuisance compared to today’s USB, Ethernet, and serial cabling. The 24-pin Centronics connector allows for easy daisy chaining of devices, but is a hefty beast — in a pinch, you could use a GPIB cable effectively as nunchucks.
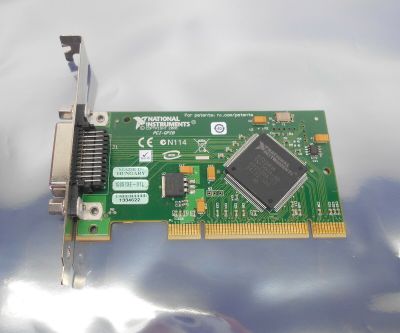
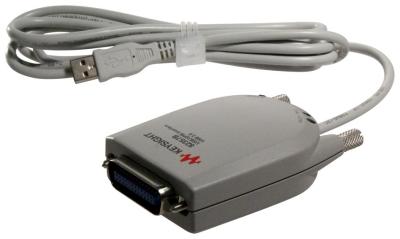
The traditional use of GPIB was a central control computer connected a chain or star cluster of test gear. This has historically influenced the available GPIB interface hardware. For decades, ISA and later PCI interface cards were installed in computers, or the GPIB interface might be integrated if you were using an HP computer. They tended to be a bit expensive, but since one interface board controlled all the instruments, you only needed one card in a given test setup. National Instruments has became the leader in the GPIB world of both interface cards and supporting drivers and software, but their proprietary software and reputation for steep prices is a bit off-putting for many small companies and home labs.
You can certainly implement an automatic test setup entirely using GPIB cabling, 1970s-style. Many such legacy systems still exist, in fact, and still have to maintained. But more than likely, our use of GPIB these days would be to adapt one or two instruments so they can be used in your non-GPIB test setup, be that LAN, USB, serial, or some combination thereof. This turns the economics of the situation upside down, and is why low-cost GPIB adaptors for just one instrument are sought after.
Let the Problems Begin
The Pi Zero-W has built-in WiFi — in fact, that’s the only LAN connection unless you connect up external circuitry. But I couldn’t get it to connect to my WiFi router. For the longest time, I thought this was an operator error. I have quite a few Raspberry Pi 3s and 4s using WiFi mode with no issues. As I started troubleshooting the problem, I learned that the network management tools in Debian / Raspberry Pi OS have changed over the years. There are many tutorials showing different ways configure things, some of them being obsolete.
A headless Pi Zero-W was really dead without any LAN connection, so I assembled a rat’s nest of USB cabling and an HDMI adaptor so I could at least get a prompt, and ordered a couple of USB-LAN adaptors to get me online temporarily. Hours and hours of searching and testing ideas, I finally found a couple of obscure posts which suggested that the Pi Zero-W’s radio had problems connecting in some countries — South Korea was on that list.
Indeed this was the issue. I could temporarily change my router’s WiFi country to the USA, and the Pi Zero-W would connect just fine. I couldn’t leave it like that, so I switched back to South Korea and continued using wired LAN cabling for my immediate work. This particular problem does have a good ending, however. On the Raspberry Pi forums, one of their engineers was able to confirm the bug, and submitted a change request to Cypress Semiconductors. Some weeks later, we got a proposed updated firmware to test. It solved the problem and hopefully will be added in an upcoming release.
Router Goes Crazy
At this point, I have a couple of Pi Zeroes, a Pi 4B, and a few USB-LAN adaptors all working. Since these USB-LAN adaptors can move around — an adaptor could be on computer ABC today and on computer XYZ tomorrow — I carefully labeled each adaptor and entered its particulars into the /etc/hosts and /etc/ethers files on my router. And my network promptly died. This was tough to solve, because surprise, extracting information from the router is awkward when the network is frozen. I finally figured out that I had mistakenly crossed up two entries for the USB-LAN adaptors in the router’s tables, and this drove OpenWRT crazy.
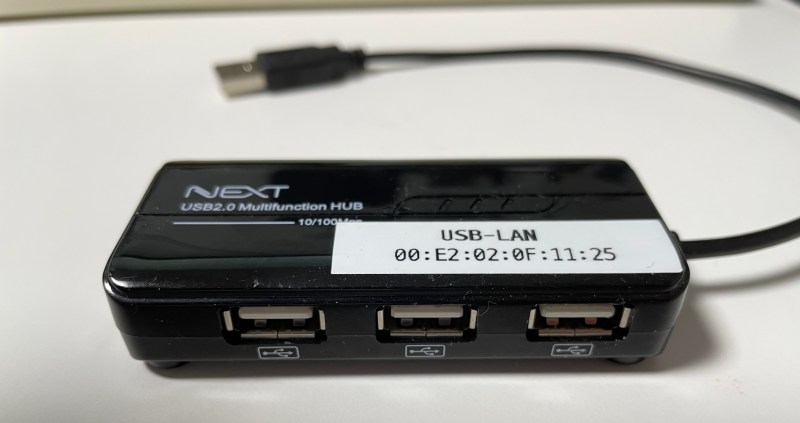
This took so long to find and solve, my solution was a bit overboard in hindsight. First of all, I completely wiped the router and re-installed the firmware from scratch. I also took the time to better organize my hostname and static lease data. I found this Gist from [Krzysztof Burghardt] that converts your /etc/hosts and /etc/ethers into OpenWRT’s /etc/config/dhcp file, and tweaked it to suit my needs. I bought a second backup router that I can quickly swap over if this happens again. And last, but not least, I broke down and bought a label printer to clearly mark these USB-LAN adaptors with their MAC addresses.
Ready to Go

Finally, I’m ready to do real work on my project. Ignore the flying leads in the background are just for fun – they go to an Analog Discovery 2 logic analyzer to observe the GPIB signals. The wristwatch is a nod to my laziness — I put an old smartphone on a tripod to watch the meter in the lab, and monitored it from my office desktop PC while testing Python scripts. Every once in awhile the video would lock up, and I used the second hand as a sign of whether things were running smoothly or not. In part two of this saga, I’ll wrap up the measurement story, give some more information on GPIB and its revisions, and show graphs from my automated test setup.
0 Commentaires