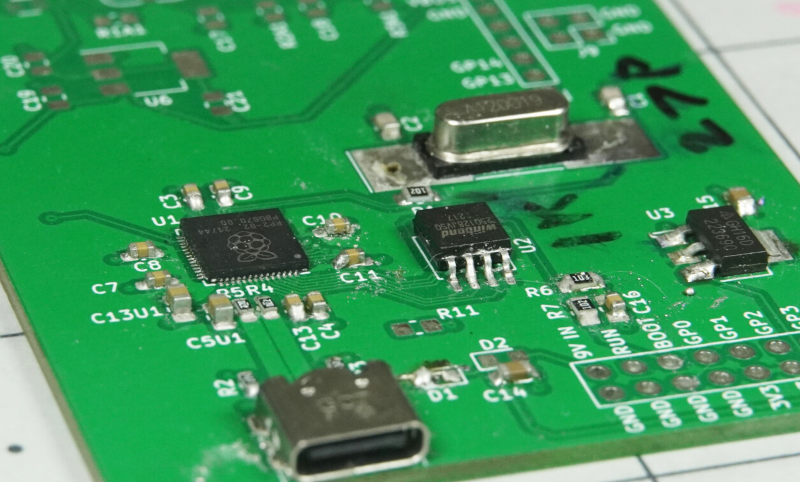
We love that these days you can buy ready-made microcontroller boards that are very capable. But sometimes you need to — or just want to — do it yourself. Unfortunately, you really should design everything twice: once to figure out where all the problems are, and the second time to do it better. If you want to create your own board for the RP2040 then you are in luck. [Jeremy] has made the first (and second) iteration or an RP2040 board and shares with us what he would not do again.
In all fairness, he also has a blog post talking about what he did, so you might want to start there. However, we think his most valuable advice was his final word: Don’t fail to get started on your design. The longest journey, after all, begins with the first step.
His other advice is good, too. For example, don’t plug your new board into a computer because an error in the power supply could take the whole computer out. He also warns you not to do like he did and forget to order the $10 solder stencil with the PCBs.
Some of it is just good advice in general. For example — buy more small components than you think you need. There’s nothing worse than needing three resistors, having three resistors, and then watching one of the three fly across the room or stick to your soldering iron and melt into a pool of slag. Buy ten and you’ll save money in the long run.
In the end, the board did work and what he learned might help you if you decide to tackle a similar project yourself. [Jeremy’s] board is fairly large, but if you have an appetite for something smaller, check out the RPDot or the RP2040 Stamp.
0 Commentaires