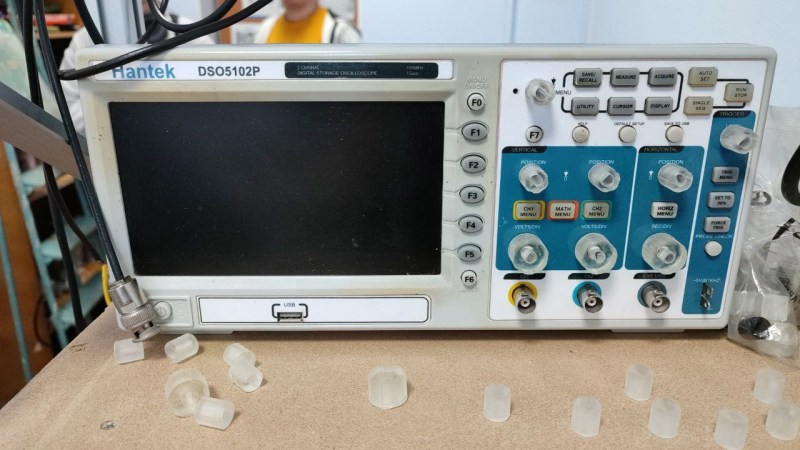
Some equipment comes with a backstory so impressive, you can’t help but treat it with reverence. For instance, this Hantek scope’s front panel and knobs have melted when a battery pack went up in flames right next to it. Then, it got donated to the CADR hackerspace, who have in turn given us a scope front panel refurbishing master class (translated, original), demonstrating just how well a typical hackerspace is prepared for performing plastic surgery like this.
All of the tools they used are commonplace hackerspace stuff, and if you ever wanted to learn about a workflow for repairs like these, their wiki post is a model example, described from start to end. They show how they could use a lasercutter to iterate through figuring out mechanical dimensions of the labels, cutting the silhouette out of cardboard as they tweaked the offsets. Then, they designed and printed out the new front panel stickers, putting them through a generic laminator to make them last. An FDM printer helped with encoder and button knob test fits, with the final version knobs made using a resin printer.
Everything is open-source – FreeCAD knob designs, SVG stickers, and their CorelDraw sources are linked in the post. With the open-source nature, there’s plenty of room to improvement – for instance, you can easily put these SVGs through KiCad and then adorn your scope with panels made out of PCBs! With this visual overhaul, the Hantek DSO5102P in question has gained a whole lot more character. It’s a comprehensive build, and it’s just one of the many ways you can compensate for a damaged or missing shell – check out our comprehensive DIY shell guide to learn more, and when you get to designing the front panel, we’ve highlighted a few lessons on that too.
0 Commentaires